General

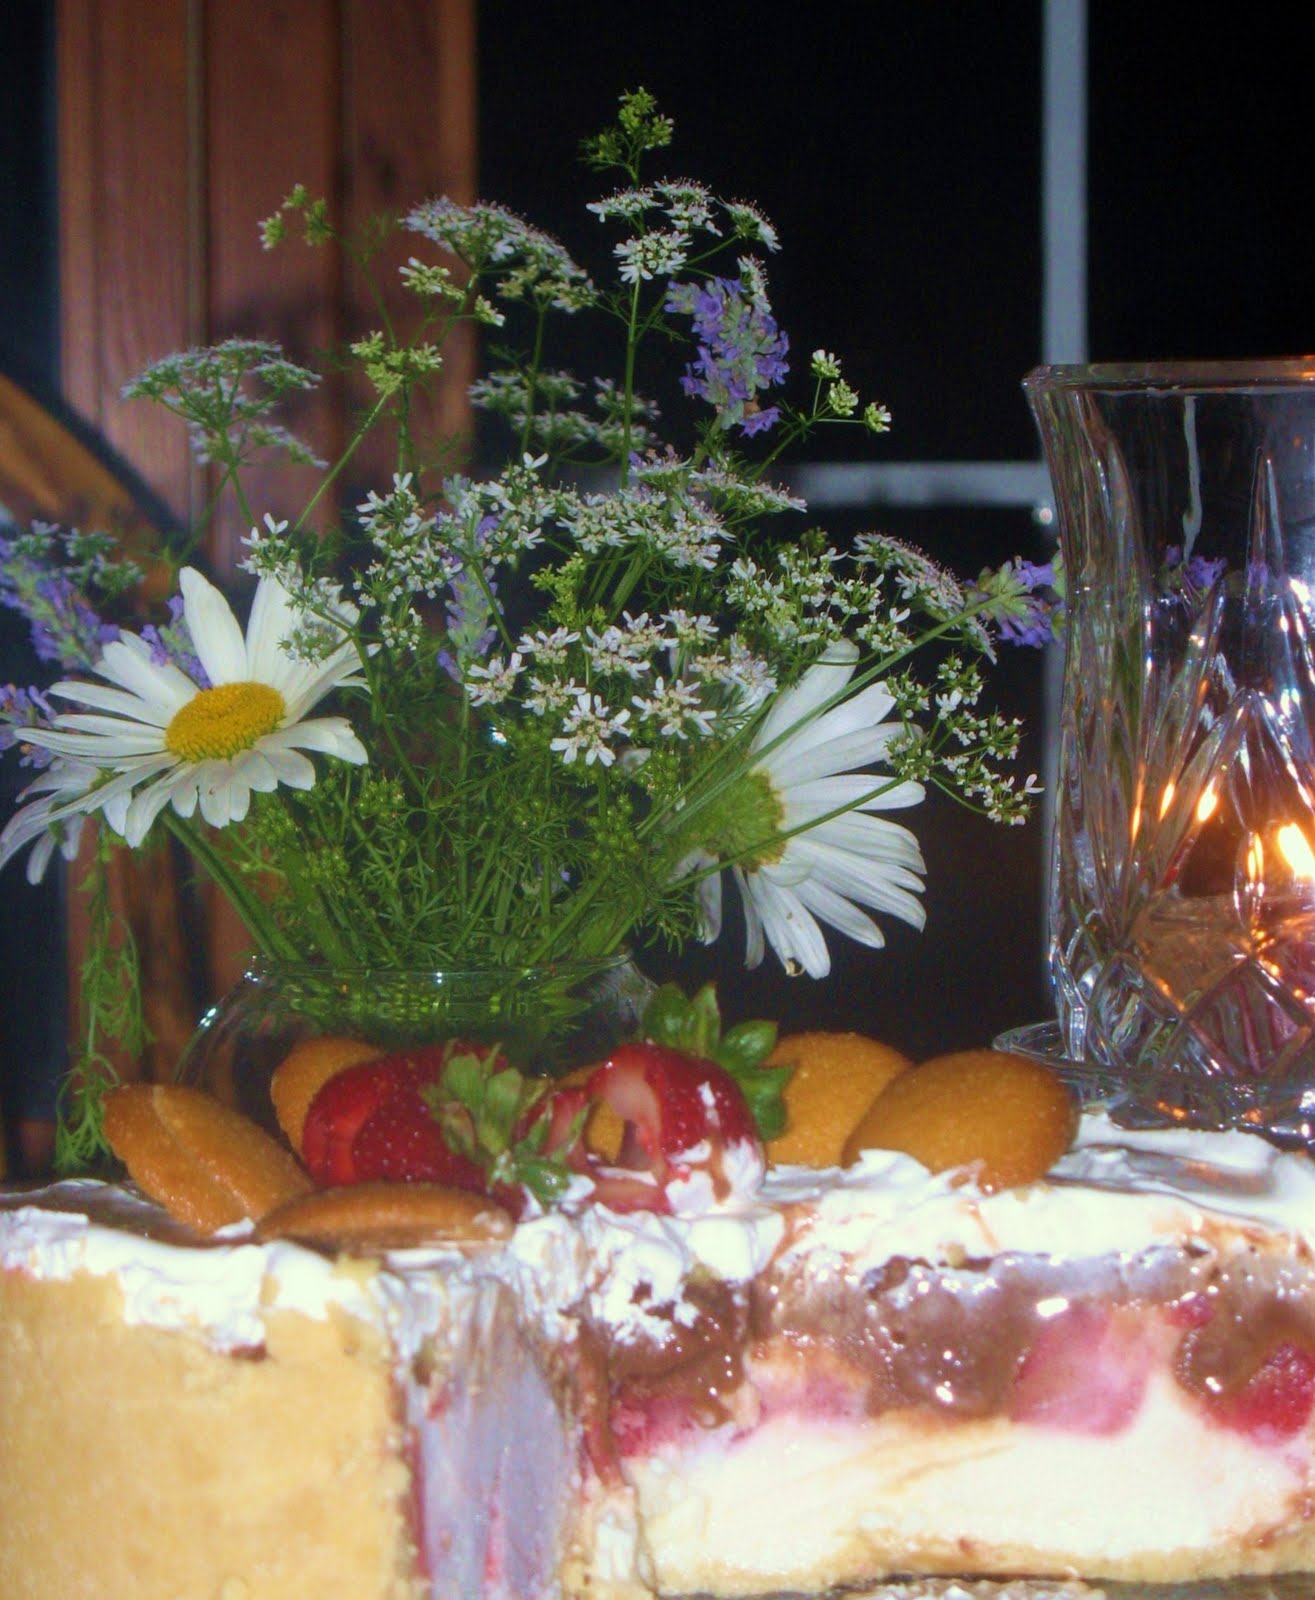
Strawberry Shortbread Ice-Box Cake
by The Gourmet Farm Girl
This recipe is an original design for one of my Ice-Box Cakes. It is a wonderful dessert on a warm Summer’s evening, it is cold and refreshing and not to mention very yummy…make one up ahead and at the end of the day sit back on the porch and ENJOY!   

You will need:

1 Qt. quality vanilla ice-cream
1 8 oz. container whipped cream
2 cups fresh strawberries
1/2 cup sugar
1 package of shortbread cookies
1/2 stick Butter (melted)
1/2 cup chopped walnuts
6-8 Nilla wafers for garnish
4-5 fresh strawberries for garnish

Step one: Place shortbread cookies in large bowl of a food processor adding the melted butter till blended
Press the crumbs into the bottom and sides of a 9-10 inch spring form pan to form a crust
Place in freezer to set up

Step Two: In a medium size sauce pan add the strawberries and sugar; simmer over low heat till the sugar is melted and the berries are semi-soft; take off heat and set aside to cool 
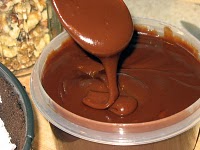
Step three Fudge Sauce
 by the Gourmet Farm Girl
                                                                                      
1 stick butter
1 12 oz can evaporated milk
1 cup chocolate chips
2 cups powder sugar
Melt all the above together in a medium size sauce pan over medium heat, whisk at first to blend then stir with a wooden spoon continually till smooth and thick; 8-10 minutes or till the sauce sticks and coats the spoon. Set aside to cool or pour into a container and refrigerate till cool. Reserve a half cup to use as a drizzle over the sliced cake; may need to microwave for a few seconds to thin out for drizzle

Step four: Remove the spring form pan with crust from freezer and gently place in scoops the vanilla ice-cream on top of the crust followed by a layer of the chopped walnuts; pour the cooled strawberry sauce over the top then the fudge sauce; place back into the freezer to set up, 2-3 hours   
Final Step: Remove cake from freezer and spread the whip cream over the top and refreeze for at least 1 more hour; will freeze and keep up to 1 week.
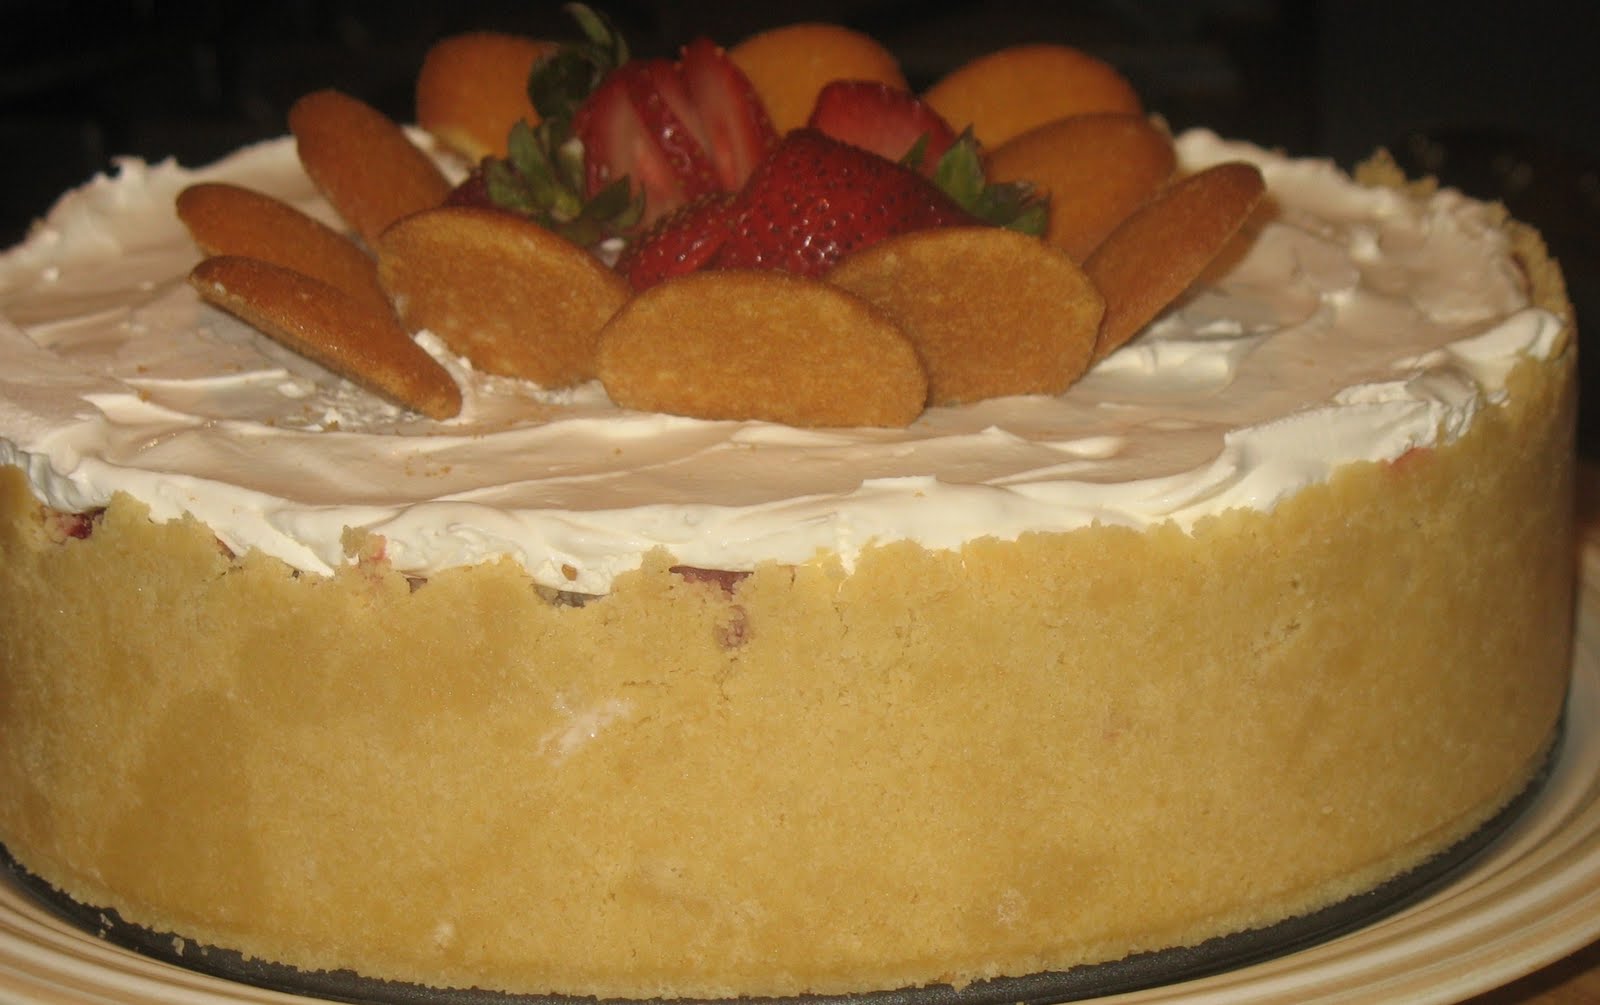
Before serving:  remove from spring form pan and garnish with sliced fresh strawberries and wafers  

Cool Summer Time Dessert… Read More »

Baked Hashbrowns with Cheesy Eggs and Veggies 
The Gourmet Farm Girl
10 – 12 eggs (depending on the size of your ramekin)
3-4 tablespoons milk

4 tablespoons butter
1- 20 oz. package fresh hash brown potatoes
2 cups shredded mild cheddar cheese blend
2-3 green onions chopped
2 cups chopped fresh spinach

I used four 4 1/2 inch ramekins

Preheat oven to 400 degrees

Spray ramekin with cooking oil and press the hash browns into the dish to form a crust; leaving it hollow in the middle. Place 1 tablespoon butter in the middle of each shell. Place ramekins on a heavy cooking sheet and bake for 25-30 minutes till the hash browns get brown and semi-crunchy. (The edges will get dark)

In a medium size mixing bowl beat eggs and milk; stir in cheese blend, onions and spinach.

Remove ramekins from oven and pour the egg mixture into each baked crust; return to oven and bake for an additional 30-35 minutes till eggs are cooked.

Time saver; place the ramekins in the microwave and cook for 2-3 minutes till eggs are cooked through.

Top with additional cheese, crumbled bacon, sour cream or salsa.

Can substitute other vegetables or a different cheese blend to your liking.
Very good with bacon or ham added
Serves 4
ENJOY!

Week-end Breakfast… Read More »

Impress your family or house guests this holiday season with this delicious and easy breakfast using frozen puff pastry.
This recipe makes two servings at a time; you will need to repeat for additional servings.
Serve with a fresh cut fruit salad.
Puffed Pasteries with Poached Eggs and Smoked Salmon
By The Gourmet Farm Girl
2 fresh eggs poached (fried or scrambled will work also)
2 frozen puffed pastries (baked according to package directions)
2-4 ounces smoked salmon (bacon bits or ham will work also)
4-5 tablespoons shredded cheddar cheese (or melted cheese)
2-3 teaspoons capers

Remove baked pastries from the oven and remove the top (lid) place some of the cheese in the hot pastry shell to melt. Poach eggs; when done place the poached egg into the pastry on top of the melted cheese. Top with additional cheese and slices of smoked salmon; garnish with capers.
Top each pastry with the lid

Serve immediately

ENJOY!
Note: to poach an egg; simple bring several cups of water to a low boil; add 1 teaspoon vinegar. Slowly pour the eggs into the hot water and let cook for 3-3 1/2 minutes. Remove with a slotted spoon and drain on paper towels. Remove any of the white membrane from the edges. Salt and pepper lightly. 

Holiday Breakfast… Read More »

This was one of my favorite meals growing up. I loved to go to the garden and pick green peppers for this particular meal. Just the smell of them takes me back to mom’s garden…
This is a great way to use any late season peppers and tomatoes.
I originally posted this recipe last season but I just had to share it again!
Moms Stuffed Green Peppers
By The Gourmet Farm Girl
4 medium size green peppers
1 medium size tomato (sliced)
1 lb. ground lean hamburger
1 small onion (chopped)
1/3 c. ketchup
¼ cup shaved Parmesan or Gruyere cheese
1 egg
1/2 c. milk
½ c. dried bread crumbs or Panko crumbs
½ t. dried mustard
½ t. salt
½ t pepper
1t. Worcestershire sauce
¼ t. garlic powder or 1-2 small cloves chopped
or 1/2 teaspoon of The Farm Girl’s House Blend seasoning
Preheat oven to 375 degrees
Spray a 9×9 inch baking dish with cooking spray
Wash peppers and cut around the top of stem to remove and create a hole; remove the seeds and ribs of the peppers; slice the tomato and set aside.
Mix all of the other ingredients together with hands (or a large spatula) and fill each pepper with the meat mixture. Place peppers in  baking dish and top each one with a slice of tomato.
 Bake for 50-60 minutes or until the peppers are soft and meat mixture is cooked through.
 Remove from oven and top with the cheese; allow to rest for 2-3 minutes while the cheese melts.

 Serve with additional sliced tomatoes and rice or mashed potatoes

Serves Four
ENJOY!

End of Summer Supper… Read More »

Creamy Tomato Soup

By The Gourmet Farm Girl


2 Tablespoons Butter
2 Tablespoons Extra Virgin Olive oil
2 cloves garlic minced
½ cup chopped green onions
½ cup chopped celery + some of the light green leaves (chopped)
½ cup chopped carrots
1/8 teaspoon black pepper
1 -14.5 oz can of low sodium beef broth
1 Tablespoon Worcestershire Sauce
1-28 oz can of Red Gold Crushed tomatoes
1-14.5 oz. can of Red Gold Roasted Garlic and Onion Diced tomatoes
1-6 oz can of Red Gold tomato paste
2 Tablespoons Brown Sugar
2 Bay leaves
1/2 teaspoon dried Tarragon
1 Tablespoon dried Parsley
1 Tablespoon Dried Cilantro
1 pint half and half or heavy cream

In a large stock pot heat the butter and oil over medium heat and sauté the garlic, onions, celery and carrots for 4-5 minutes until soft; season with salt and pepper.

Add the broth, Worcestershire, all the tomato products, brown sugar, bay leaves, tarragon, parsley and Cilantro. Reduce heat to low and simmer for 30-40 minutes.

Gently stir in the half and half or cream and continue to simmer for an additional 4-5 minutes till hot through.

Serve with crusty bread or homemade croutons.
Serves- 6-8    

Warm Your Bones with Soup… Read More »

I remember a meal my mother used to make with round steak and tomato sauce. Looking back it was actually a version of Steak Pizzaiola. I came across this recipe recently and decided to make my mom’s classic dish “Gourmet Farm Girl”style.
Chuck Roast Pizzaiola
By The Gourmet Farm Girl
2 1/2  pound chuck roast (bone in)
1 onion chopped
3 bay leaves
1 15 oz can beef broth
1 teaspoon salt
1 teaspoon pepper
1 teaspoon crushed red pepper flakes
3-4 cloves garlic minced
2-3 tablespoons canola oil
2 teaspoons dried oregano
2 teaspoons dried thyme
1  6 oz can tomato paste
1 quart tomatoes with juice (I used my home canned)
0r use 1- 28 oz store bought
Parmesan cheese (shaved)
Preheat oven to 325 degrees
Salt and pepper both sides of the chuck roast 
In a large stock pot over medium high heat drizzle the canola oil on the bottom and sear the roast on both sides for 1-2 minutes till brown; remove roast and set aside.
Lower heat to medium and add the chopped onion and garlic to the pot and cook for 1-2 minutes. Add the beef broth and bay leaves; simmer for 3-5 minutes. Stir in the tomatoes, tomato paste and spices; return the roast to the pot; cover and braise in the oven for 2-2 1/2 hours till the meat is tender and falls off the bone. 
Serve on a large platter over pasta with shaved parmesan cheese and fresh chopped flat leaf parsley or place the whole pot on the table with a large bowl of your favorite pasta for everyone to help themselves.
Serves 8-10
ENJOY!


A New Creation… Read More »

Pasta with Garden Tomatoes and Fresh Herbs
By the Gourmet Farm Girl

1/4 pound thin spaghetti noodles (enough to yield 2-3 cups cooked)
1 cup yellow pear tomatoes (or any yellow tomato chopped)
1 cup red cherry or grape tomatoes
4-5 tablespoons fresh chopped basil
2-3 tablespoons fresh chopped parsley
4 cloves garlic minced
3-4 tablespoons extra virgin olive oil

Cook pasta according to package directions; drain and  reserve 1 cup pasta water

In a medium size saute pan heat the oil over medium to medium high heat; add garlic and tomatoes. Cook till tomatoes start to soften and blister; 3-4 minutes or less. Stir in fresh herbs; add cooked pasta and gently toss till coated with oil, herbs and tomatoes are mixed in.

Note: if pasta is sticking together; pour reserved pasta water over the pasta and drain prior to adding to the skillet

Serve immediately

Serves 2-3
Double if serving more

ENJOY!

Great Side Dish… Read More »

When growing up on the farm I recall every August when the sweet corn turned ripe and the time came to preserve some for the winter. Sweet corn was planted in the fields next to the field corn in rows as long as the field…there was a lot of corn.  The corn was picked from the field early in the morning after chores and loaded onto the bed of the pickup truck. The truck would be  stacked high with the sweet goodness; yet staring at all those ears of corn in need of being husked, brushed free of silks; blanched in hot water and all the kernels cut off each cob seemed overwhelming when I stood there looking at it.

But it was a family event in the fact that everyone had some part in the process. My brother did the picking, grandma would start the husking.  Meanwhile mom and I set up the kitchen with two large pots of boiling water on the stove top, one side of the sink with cold ice water, a large dish tub with the corn knife on top and at least 100-125 pint size freezer containers and 25-50 quart size containers.  And a large fan or two to keep us cool as there was no air conditioning. Everything had to be removed from the counter tops and newspaper was taped up as a back splash where the corn was being cut off the cob. It’s amazing how far a kernel of corn can travel…and stick on its landing spot forever, unless stopped before it gets there.

Mom and I would join grandma in yard under the shade tree and help with the husking.  Once we had about a half dozen 5 gallon buckets full of ears, dad would carry them into the kitchen and the process would begin.

This all took place before noon, and a meal was prepared at the same time, which of course included some sweet corn.  Grandpa, dad, brother, the hired hand, grandma, mom and I would gather around the table to take a break and talk about the mission ahead us along with the usual farm talk chatter about the market reports or the weather.

It was a lot of work in which the task usually lasted into the evening hours and sometimes until after the sun had gone down. But the effort put forth was certainly worth it when looking at all the containers full of fresh sweet corn stacked high in the basement freezer. Even more so in the middle of January when we enjoyed the fresh taste of corn for dinner!

I still boil fresh picked corn in a bath of hot water; however this recipe works well on the grill and gives the corn a distinctive flavor.
 Roasted Sweet Corn
By The Gourmet Farm Girl
1 dozen ears of fresh picked sweet corn
10 tablespoons soft unsalted butter
1 1/2 teaspoons Hickory Smoked Salt
Kitchen twine

Soak 12 pieces of kitchen twine cut 20 inches long in water for 15-20 minutes

Mix the salt and butter together and set aside

Pull husks back from the cob and remove the silks with hands or a soft brush; replace/ wrap the husks back around the cob; place corn in a sink full of cold water and soak for 10-15 minutes; remove and drip dry.
Pull husks back again and rub the butter and salt mixture on the kernels; wrap up once more and secure with the kitchen twine.

Place on a hot grill for 15-20 minutes till hot through. remove strings; add additional butter before eating if desired.  
ENJOY!

Sweet Corn Season… Read More »

Onion Flavored Fried Potatoes  
By The Gourmet Farm Girl

4-5 leftover baked potatoes (or bake potatoes ahead and refrigerate till ready for use)
1 small yellow onion (sliced)
1 leek (sliced)
¼ teaspoon garlic powder
3 tablespoons butter
3-5 tablespoons olive oil
Salt and pepper to taste

Slice leftover baked potatoes and fry in 2 tablespoons butter and 2-3 tablespoons olive oil over medium to medium high heat till golden brown. Note: Flip potatoes only when pan sides down potatoes are crisp and brown; cast iron works very well for this.

While potatoes are frying; in separate small non-stick skillet melt 1 tablespoon butter and 1-2 tablespoons oil; fry the leeks and onions till wilted and lightly brown; add the garlic, salt and pepper while frying.
When potatoes are done, place on a large serving platter and pour the onion mixture over the top; serve immediately.
Serves 5-6
ENJOY!

Lefterover idea… Read More »

If you have a lot of Zucchini, here is a recipe my mother had. Keep in mind (if you’re not canning) you can make this and store in the refrigerator for up to a week, just cut the recipe in half (or make the whole recipe and give some away) it is very yummy on hot dogs, brats and burgers or anything you would add some relish to…ENJOY!

Zucchini Relsih
By The Gourmet Farm Girl

10 cups shredded zucchini (I use green and yellow)
4 cups chopped onions
5 T salt (I use kosher)
2 green peppers chopped
2 ¼ cups vinegar
5 cups sugar
1 t nutmeg
1 t dry mustard
½ t turmeric
3 t celery seed
1 t cracked black pepper
2 t red pepper flakes (optional) or add to half of mix
2 t cornstarch

Step One:
In the large bowl of a food processor shred the zucchini and chop the onions; place in a large bowl mix in the salt and let sit for 6-8 hours.
 Mix up the night before or in the morning slid into the fridge and finish later.
Step Two:
Pour mix into a large colander, drain and rinse in cold water; return to bowl, add the green peppers and set aside
Step Three:
In a medium size sauce pan over medium heat dissolve the vinegar and sugar; add the spices and remaining ingredients, simmer for 40-45 minutes, pour hot syrup over the zucchini and stir well.
Step Four:
Fill jars and process according to your canner directions for relish.
Makes 16-17 pint size jars
If not canning; place into plastic containers or jars (it looks pretty in glass jars) and store in the refrigerator.
If making the full recipe; I’m sure your neighbors would be impressed with a pretty jar of homemade relsih!

Have lots of Zucchini? Read More »