Need Featured Image

Grilled Zucchini with Barramundi
By The Gourmet Farm Girl
4 Barramundi fillets (or your favorite white fish)

¾ cup Panko bread crumbs
½ cup flour
2 tablespoons Mrs. Dash (original)
2 egg whites +2 tablespoon milk
1 lemon sliced
4 tablespoons butter
1 medium size zucchini sliced (1/2 inch each)

Slice zucchini and lightly brush with vegetable oil, salt and pepper; set aside

Pour Panko crumbs onto a large plate and mix with Mrs. Dash seasoning; set aside

Rinse fish fillets in cold water and drain on a paper towel; add flour to a gallon size plastic bag and toss with the fish fillets till coated with flour; tap off any excess

Beat egg whites with milk and dip each floured fillet into the egg wash; transfer to the bread crumbs and lightly coat each side; place fish fillets on a large piece of aluminum foil sprayed with cooking oil. Top each fillet with the butter; lay lemon slices along sides

Grill at 400 degrees for 7-8 minutes per side

Grill zucchini at the same time directly on the grill rack; 7-8 minutes per side or till soft and slightly charred.
Serve fish over the grilled zucchini and garnish with lemon slices.

Serves 4

ENJOY!

The Many Uses for Zucchini Read More »

When I was very young the summers seemed to last forever. I remember long summer days and the smell of fresh hay being bailed back by the pasture and orchard where many apple trees once stood. One of my chores was to deliver a jug of fresh squeezed lemonade to my dad and grandpa  who were working hard in the summer heat.
I hardly ever wore a pair of shoes during those hot summer days; which seemed to amaze my grandpa. Every time I showed up at the side of the field with that jug of lemonade he would remove his straw hat, wipe the sweat from his brow and say ” Ouchy… doesn’t the hay stubble hurt your feet”? I would simply reply with a quick “nope” stretch out my arms, hand off the jug of sweet goodness and run as fast as I could through the field as if to show him just how durable I was…it did hurt a little bit. But just seeing the grin on their faces as they watched me run off reassured me that it was all worth it!
Grandpa’s Favorite Fresh Squeezed Lemonade
By The Gourmet Farm Girl
  

6-8 large fresh lemons
1 cup sugar (or 1/4 cup Truvia)
4 cups cold water
1 cup crushed ice

Lay out lemons on the kitchen counter till room temperature

Slice the lemons in half; squeeze the juice and pulp out with a juicer, enough to make one cup of juice. Reserve one half of a lemon to slice for garnish. Pour into a one gallon pitcher and stir in the sweetener. Add the cold water; ice and slices of lemon; stir and Enjoy on the porch or patio if you don’t have a hay field…

Alterations: add 1 cup of your choice to the pitcher.
White Grape Juice
Cherries
Strawberries
Blueberries
Pomegranate Juice
Strong Tea
The juice of several limes and slices

I still own the juicer my mother used to squeeze the lemons. 

A Simple Recipe with Great Memories… Read More »

Stuffed Shells with Meat and Spinach over Homemade Tomato Sauce and Melted Mozzarella
By The Gourmet Farm Girl

12 Barilla Jumbo Shells (or your favorite brand)
1/2 lb Italian sausage
1/4 lb ground beef
1-2 tablespoons extra virgin olive oil
1 cup spinach leaves
5-6 scallions (chopped)
2 cloves garlic (minced)
1 teaspoon salt
1/4 teaspoon ground black pepper
1 tablespoon Italian seasoning
1 teaspoon dried basil
1/8 teaspoon ground nutmeg
1 egg beaten
1/2 cup fresh grated Parmesan cheese
8 ounces fresh Mozzarella cheese (sliced)

Tomato Sauce

1 quart cooked tomatoes ( I used my canned tomatoes form last years garden)
or 1 qt stewed tomatoes
1 tablespoon dried basil
1 teaspoon dried oregano
1 teaspoon salt
1 teaspoon black pepper
1 tablespoon brown sugar
2 tablespoons dried parsley
1 teaspoon granulated garlic
Splash of Cabernet to taste (optional)

In a deep skillet add all the above and bring to boil; cover with a tilted lid; reduce heat and simmer for 45-50 minutes while preparing meat and shells; stir often.

Preheat oven to 350 degrees

In a large pot of salted water boil shells according to package directions; drain, reserving some of the pasta water; set aside
In a large skillet over medium heat  brown the sausage and ground beef 5-6 minutes; drain any grease.
Add the olive oil, scallions, garlic, salt, pepper and seasonings with 1-2 tablespoons of the reserved pasta water; reduce heat and cook for 12-15 minutes stirring occasionally.
Lower heat to simmer and stir in grated Parmesan cheese and egg; remove from heat and let cool
Place several spinach leaves inside each shell then stuff with meat mixture. Pour sauce into a greased 9×9 inch glass casserole; position shells on top of sauce; lay the sliced mozzarella cheese on top of each stuffed shell. Cover with aluminum foil and bake for 40-45 minutes; remove foil and bake for an additional  2-3 minutes till cheese is completely melted. 
Serves 4
ENJOY!

Italian Dinner… Read More »

Stuffed Chicken Breasts with Prosciutto, Spinach and Cheese
By The Gourmet Farm Girl

2 Boneless Chicken Breasts with skin removed
4 slices Prosciutto
5-6 large fresh spinach leaves
1 14.5 oz can chicken broth
1/2 cup shredded mozzarella cheese
1 teaspoon fresh thyme
3-4 Garlic Cloves sliced
2 small sprigs of fresh rosemary
4-5 leaves of basil chopped

Preheat oven to 400 degrees

Fillet chicken breast open; place in a plastic bag and pound out with a meat tenderizer on both sides
Lay out chicken breasts, salt and pepper, lay 2 slices of prosciutto on top of each breast; top with 3-4 spinach leaves; 1/4 cup cheese and the thyme leaves; Gently roll the breasts and tie with kitchen string or use tooth picks to secure

Place in a glass 9×12  baking dish; pour chicken broth over the breasts; Drizzle with extra virgin olive oil
Place the rosemary sprigs and garlic cloves in the broth and sprinkle the chopped basil over the chicken
and some into the broth

Bake at 400 degrees for 45-50 minutes till done
Let rest in baking dish for 5 minutes

Cut strings or remove tooth picks and slice each breast; pour gravy over to serve

Double this recipe if feeding more than two people and if using dried herbs cut in half 


Parsley Gravy

1 14 oz can (reduced sodium) chicken broth
2-3 Tablespoons flour
2-3 Tablespoons butter
1 Tablespoon Fresh or Dried Parsley
Salt and pepper to taste

Melt butter in a heavy skillet over medium heat; add flour to form roux; pour broth in skillet and stir with a whisk or large spoon till thick and smooth; stir in parsley
ENJOY!

The Flavors of Fresh Herbs… Read More »

Creamy Tomato Soup

By The Gourmet Farm Girl


2 Tablespoons Butter
2 Tablespoons Extra Virgin Olive oil
2 cloves garlic minced
½ cup chopped green onions
½ cup chopped celery + some of the light green leaves (chopped)
½ cup chopped carrots
1/8 teaspoon black pepper
1 -14.5 oz can of low sodium beef broth
1 Tablespoon Worcestershire Sauce
1-28 oz can of Red Gold Crushed tomatoes
1-14.5 oz. can of Red Gold Roasted Garlic and Onion Diced tomatoes
1-6 oz can of Red Gold tomato paste
2 Tablespoons Brown Sugar
2 Bay leaves
1/2 teaspoon dried Tarragon
1 Tablespoon dried Parsley
1 Tablespoon Dried Cilantro
1 pint half and half or heavy cream

In a large stock pot heat the butter and oil over medium heat and sauté the garlic, onions, celery and carrots for 4-5 minutes until soft; season with salt and pepper.

Add the broth, Worcestershire, all the tomato products, brown sugar, bay leaves, tarragon, parsley and Cilantro. Reduce heat to low and simmer for 30-40 minutes.

Gently stir in the half and half or cream and continue to simmer for an additional 4-5 minutes till hot through.

Serve with crusty bread or homemade croutons.
Serves- 6-8    

Warm Your Bones with Soup… Read More »

I remember a meal my mother used to make with round steak and tomato sauce. Looking back it was actually a version of Steak Pizzaiola. I came across this recipe recently and decided to make my mom’s classic dish “Gourmet Farm Girl”style.
Chuck Roast Pizzaiola
By The Gourmet Farm Girl
2 1/2  pound chuck roast (bone in)
1 onion chopped
3 bay leaves
1 15 oz can beef broth
1 teaspoon salt
1 teaspoon pepper
1 teaspoon crushed red pepper flakes
3-4 cloves garlic minced
2-3 tablespoons canola oil
2 teaspoons dried oregano
2 teaspoons dried thyme
1  6 oz can tomato paste
1 quart tomatoes with juice (I used my home canned)
0r use 1- 28 oz store bought
Parmesan cheese (shaved)
Preheat oven to 325 degrees
Salt and pepper both sides of the chuck roast 
In a large stock pot over medium high heat drizzle the canola oil on the bottom and sear the roast on both sides for 1-2 minutes till brown; remove roast and set aside.
Lower heat to medium and add the chopped onion and garlic to the pot and cook for 1-2 minutes. Add the beef broth and bay leaves; simmer for 3-5 minutes. Stir in the tomatoes, tomato paste and spices; return the roast to the pot; cover and braise in the oven for 2-2 1/2 hours till the meat is tender and falls off the bone. 
Serve on a large platter over pasta with shaved parmesan cheese and fresh chopped flat leaf parsley or place the whole pot on the table with a large bowl of your favorite pasta for everyone to help themselves.
Serves 8-10
ENJOY!


A New Creation… Read More »

Pasta with Garden Tomatoes and Fresh Herbs
By the Gourmet Farm Girl

1/4 pound thin spaghetti noodles (enough to yield 2-3 cups cooked)
1 cup yellow pear tomatoes (or any yellow tomato chopped)
1 cup red cherry or grape tomatoes
4-5 tablespoons fresh chopped basil
2-3 tablespoons fresh chopped parsley
4 cloves garlic minced
3-4 tablespoons extra virgin olive oil

Cook pasta according to package directions; drain and  reserve 1 cup pasta water

In a medium size saute pan heat the oil over medium to medium high heat; add garlic and tomatoes. Cook till tomatoes start to soften and blister; 3-4 minutes or less. Stir in fresh herbs; add cooked pasta and gently toss till coated with oil, herbs and tomatoes are mixed in.

Note: if pasta is sticking together; pour reserved pasta water over the pasta and drain prior to adding to the skillet

Serve immediately

Serves 2-3
Double if serving more

ENJOY!

Great Side Dish… Read More »

When growing up on the farm I recall every August when the sweet corn turned ripe and the time came to preserve some for the winter. Sweet corn was planted in the fields next to the field corn in rows as long as the field…there was a lot of corn.  The corn was picked from the field early in the morning after chores and loaded onto the bed of the pickup truck. The truck would be  stacked high with the sweet goodness; yet staring at all those ears of corn in need of being husked, brushed free of silks; blanched in hot water and all the kernels cut off each cob seemed overwhelming when I stood there looking at it.

But it was a family event in the fact that everyone had some part in the process. My brother did the picking, grandma would start the husking.  Meanwhile mom and I set up the kitchen with two large pots of boiling water on the stove top, one side of the sink with cold ice water, a large dish tub with the corn knife on top and at least 100-125 pint size freezer containers and 25-50 quart size containers.  And a large fan or two to keep us cool as there was no air conditioning. Everything had to be removed from the counter tops and newspaper was taped up as a back splash where the corn was being cut off the cob. It’s amazing how far a kernel of corn can travel…and stick on its landing spot forever, unless stopped before it gets there.

Mom and I would join grandma in yard under the shade tree and help with the husking.  Once we had about a half dozen 5 gallon buckets full of ears, dad would carry them into the kitchen and the process would begin.

This all took place before noon, and a meal was prepared at the same time, which of course included some sweet corn.  Grandpa, dad, brother, the hired hand, grandma, mom and I would gather around the table to take a break and talk about the mission ahead us along with the usual farm talk chatter about the market reports or the weather.

It was a lot of work in which the task usually lasted into the evening hours and sometimes until after the sun had gone down. But the effort put forth was certainly worth it when looking at all the containers full of fresh sweet corn stacked high in the basement freezer. Even more so in the middle of January when we enjoyed the fresh taste of corn for dinner!

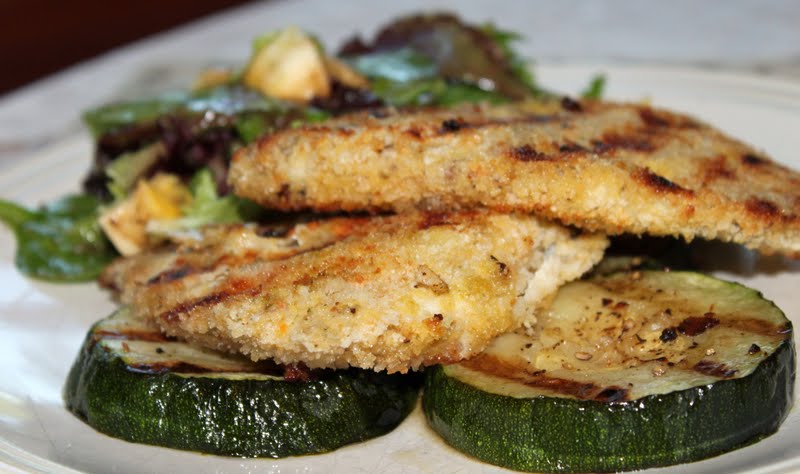
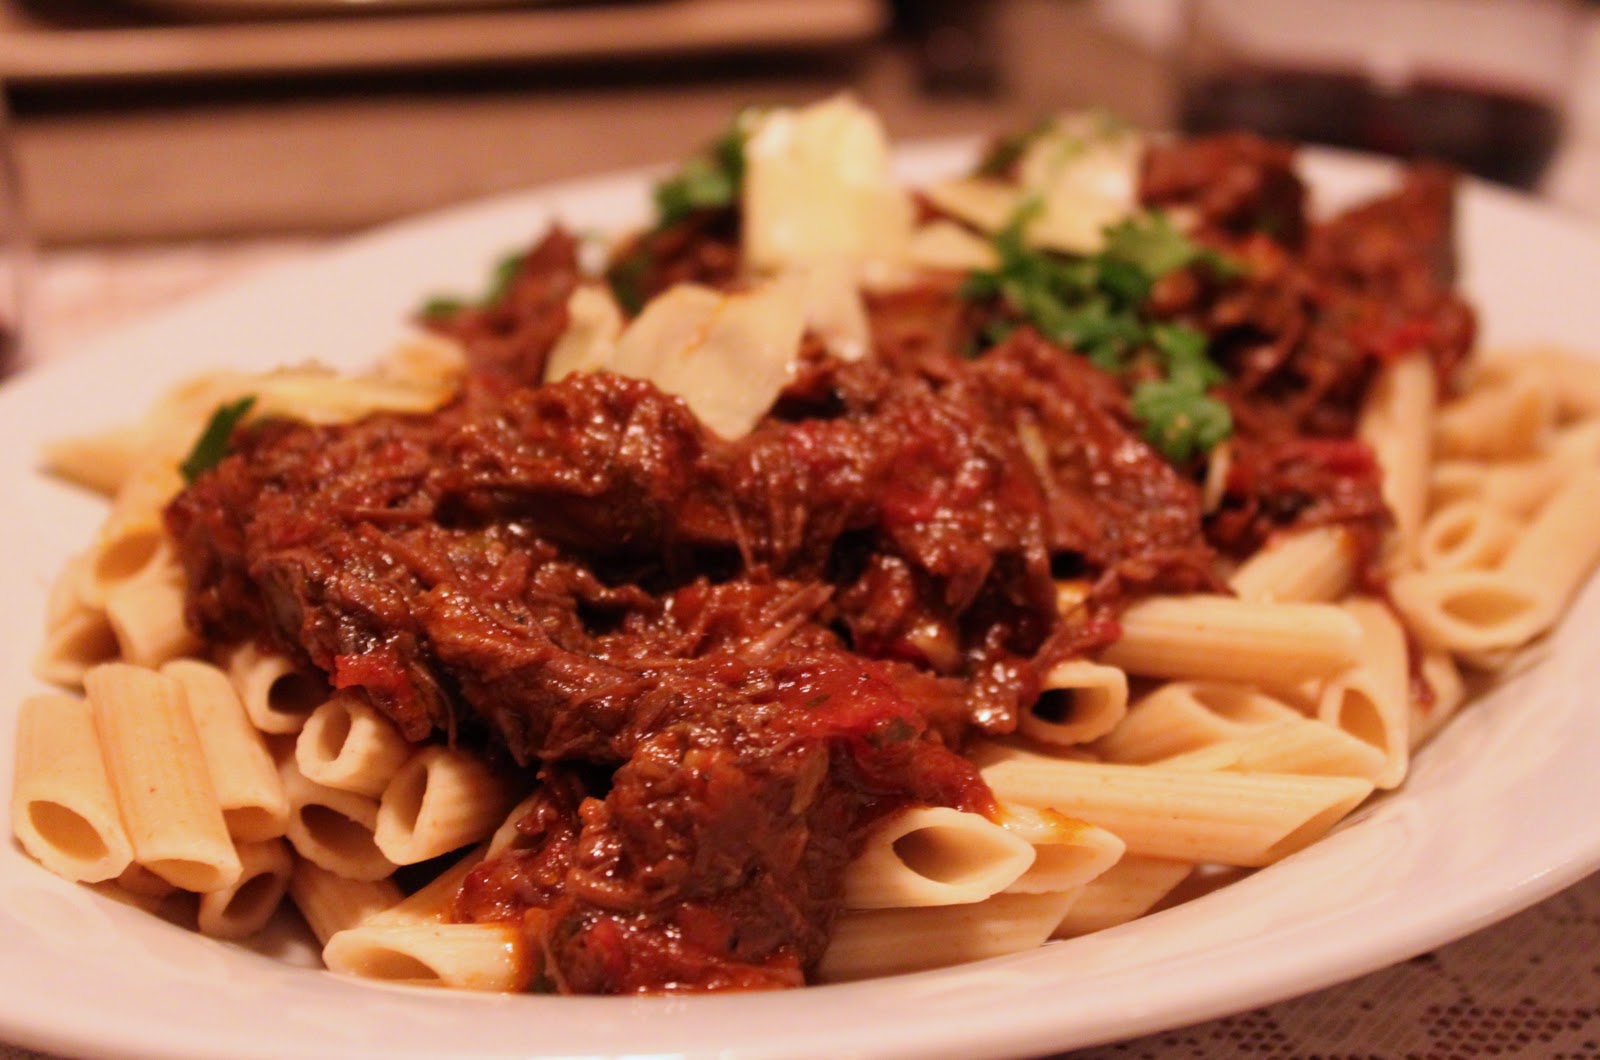
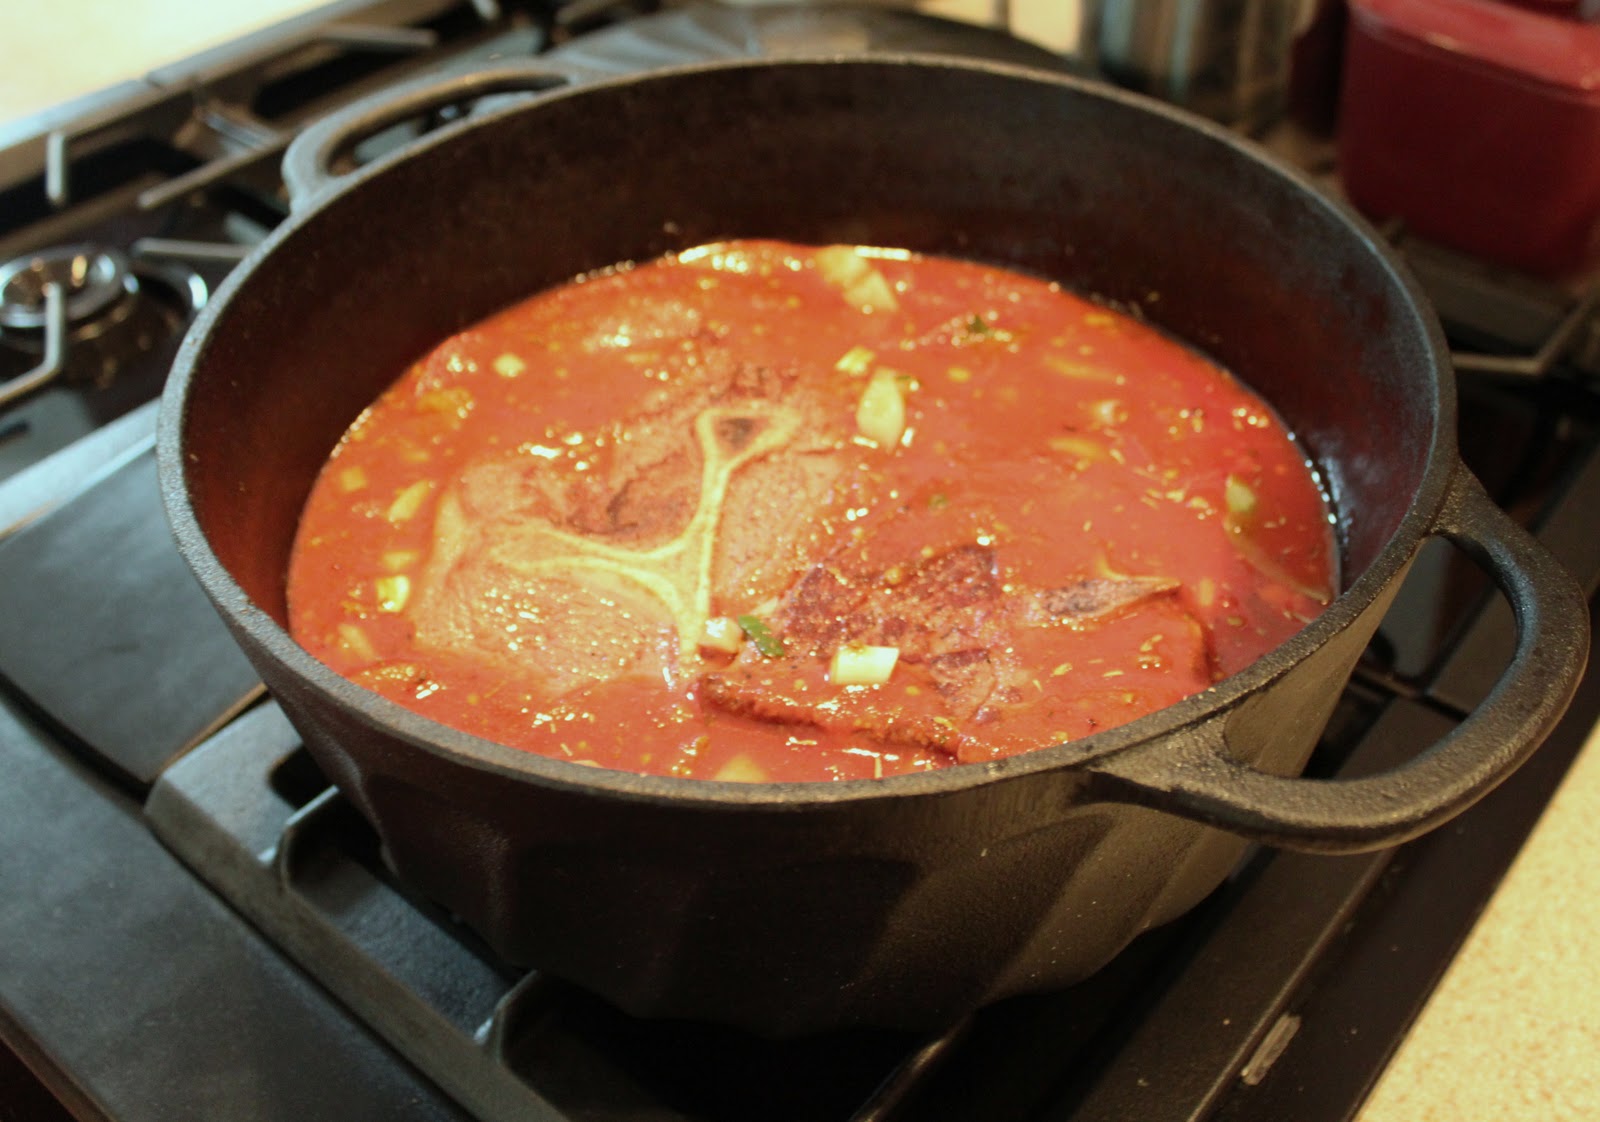
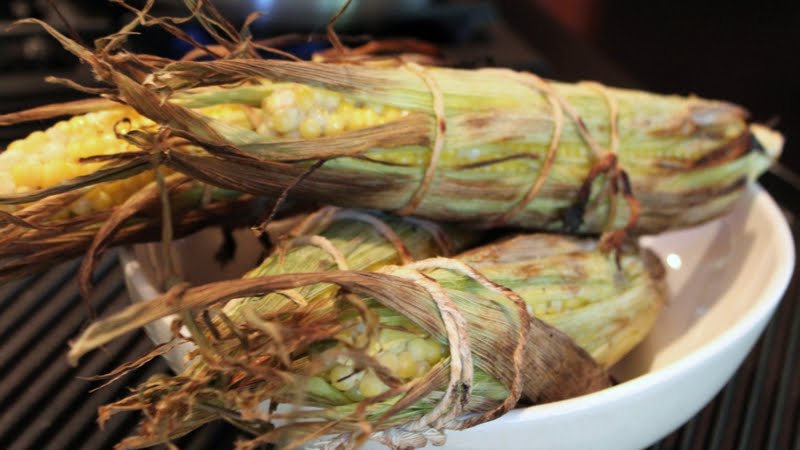
I still boil fresh picked corn in a bath of hot water; however this recipe works well on the grill and gives the corn a distinctive flavor.
 Roasted Sweet Corn
By The Gourmet Farm Girl
1 dozen ears of fresh picked sweet corn
10 tablespoons soft unsalted butter
1 1/2 teaspoons Hickory Smoked Salt
Kitchen twine

Soak 12 pieces of kitchen twine cut 20 inches long in water for 15-20 minutes

Mix the salt and butter together and set aside

Pull husks back from the cob and remove the silks with hands or a soft brush; replace/ wrap the husks back around the cob; place corn in a sink full of cold water and soak for 10-15 minutes; remove and drip dry.
Pull husks back again and rub the butter and salt mixture on the kernels; wrap up once more and secure with the kitchen twine.

Place on a hot grill for 15-20 minutes till hot through. remove strings; add additional butter before eating if desired.  
ENJOY!

Sweet Corn Season… Read More »

Onion Flavored Fried Potatoes  
By The Gourmet Farm Girl

4-5 leftover baked potatoes (or bake potatoes ahead and refrigerate till ready for use)
1 small yellow onion (sliced)
1 leek (sliced)
¼ teaspoon garlic powder
3 tablespoons butter
3-5 tablespoons olive oil
Salt and pepper to taste

Slice leftover baked potatoes and fry in 2 tablespoons butter and 2-3 tablespoons olive oil over medium to medium high heat till golden brown. Note: Flip potatoes only when pan sides down potatoes are crisp and brown; cast iron works very well for this.

While potatoes are frying; in separate small non-stick skillet melt 1 tablespoon butter and 1-2 tablespoons oil; fry the leeks and onions till wilted and lightly brown; add the garlic, salt and pepper while frying.
When potatoes are done, place on a large serving platter and pour the onion mixture over the top; serve immediately.
Serves 5-6
ENJOY!

Lefterover idea… Read More »

If you have a lot of Zucchini, here is a recipe my mother had. Keep in mind (if you’re not canning) you can make this and store in the refrigerator for up to a week, just cut the recipe in half (or make the whole recipe and give some away) it is very yummy on hot dogs, brats and burgers or anything you would add some relish to…ENJOY!

Zucchini Relsih
By The Gourmet Farm Girl

10 cups shredded zucchini (I use green and yellow)
4 cups chopped onions
5 T salt (I use kosher)
2 green peppers chopped
2 ¼ cups vinegar
5 cups sugar
1 t nutmeg
1 t dry mustard
½ t turmeric
3 t celery seed
1 t cracked black pepper
2 t red pepper flakes (optional) or add to half of mix
2 t cornstarch

Step One:
In the large bowl of a food processor shred the zucchini and chop the onions; place in a large bowl mix in the salt and let sit for 6-8 hours.
 Mix up the night before or in the morning slid into the fridge and finish later.
Step Two:
Pour mix into a large colander, drain and rinse in cold water; return to bowl, add the green peppers and set aside
Step Three:
In a medium size sauce pan over medium heat dissolve the vinegar and sugar; add the spices and remaining ingredients, simmer for 40-45 minutes, pour hot syrup over the zucchini and stir well.
Step Four:
Fill jars and process according to your canner directions for relish.
Makes 16-17 pint size jars
If not canning; place into plastic containers or jars (it looks pretty in glass jars) and store in the refrigerator.
If making the full recipe; I’m sure your neighbors would be impressed with a pretty jar of homemade relsih!

Have lots of Zucchini? Read More »